
Learning to See Again: Infrared Photography
Always on the look out to expand my creative expression in photography, a few years ago I purchased an infrared converted digital camera - a Fujifilm X-T10, adjusted to work in the 850nm infrared spectrum.
And honestly? It felt like learning photography all over again.
Most of what we shoot lives within a very narrow slice of light — the visible spectrum. Roughly 400–700nm. Infrared sits just beyond that, invisible to the eye but very much present in the world around us.
Once you start photographing in it, you realise something quite quickly; the world doesn’t just look different — it behaves differently.
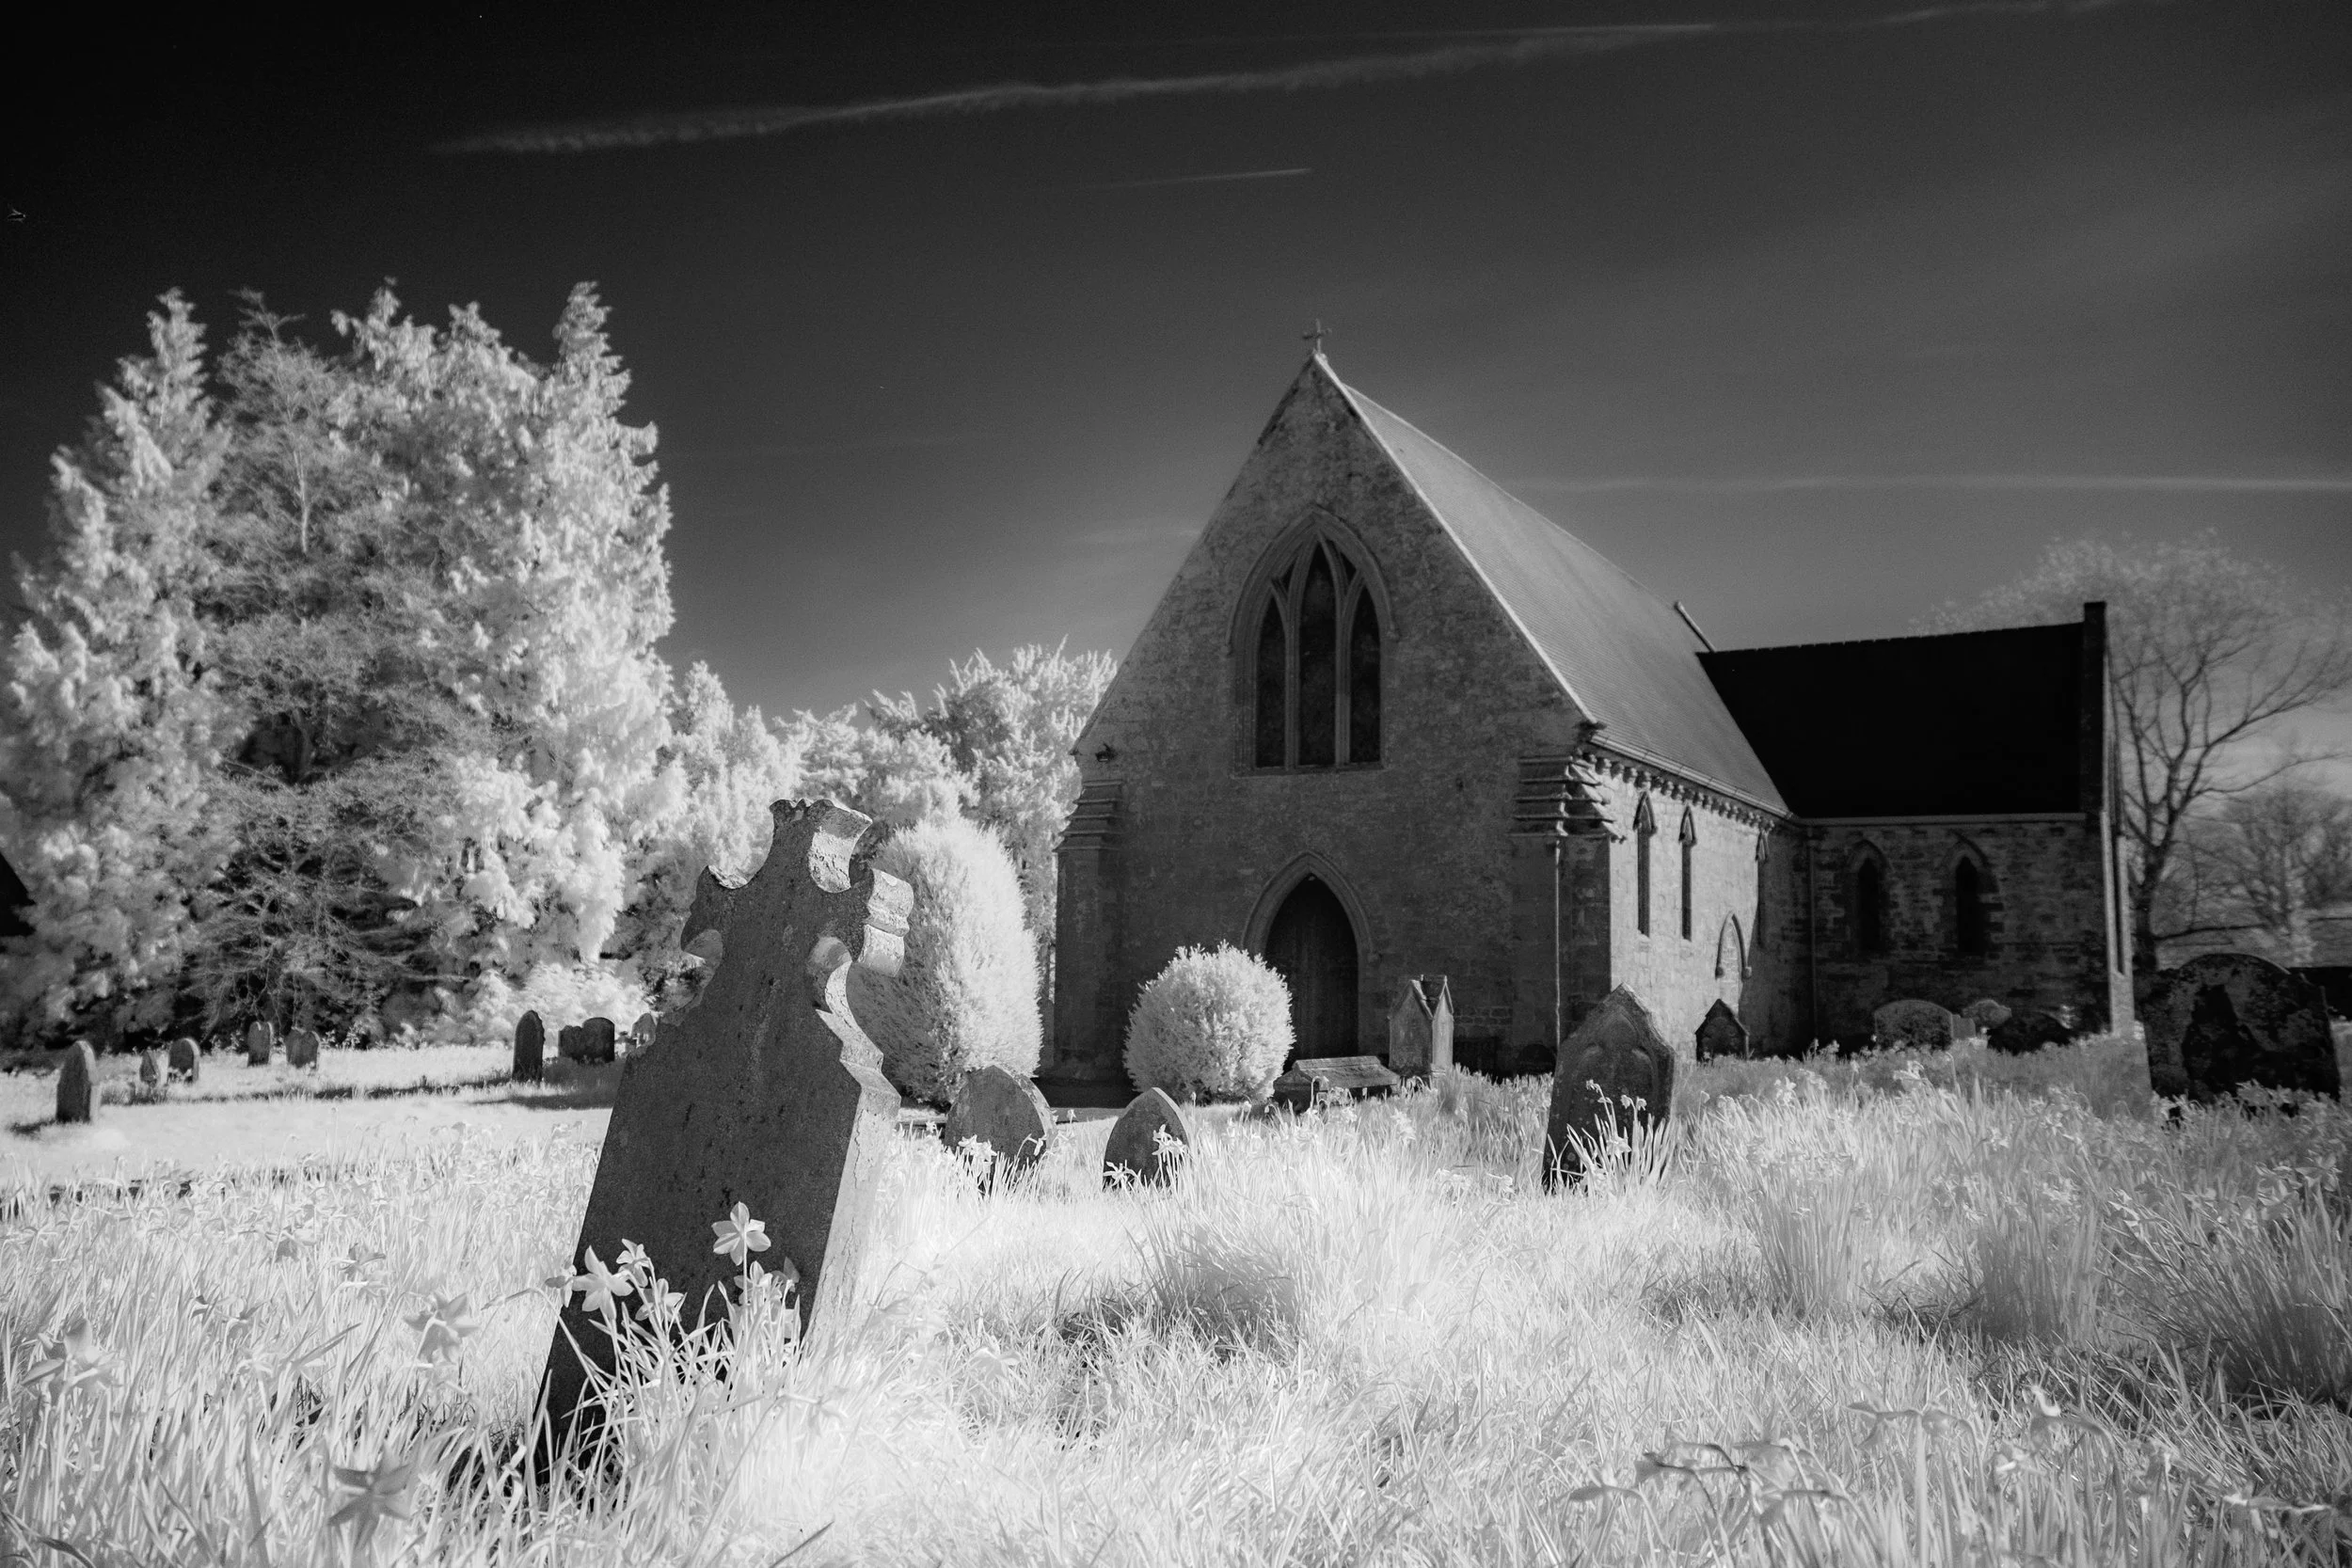
Foliage reflects infrared light intensely. Skies absorb it. Skin softens. Contrast shifts in ways that feel unfamiliar at first, but incredibly compelling once you start to understand it.
I chose 850nm deliberately. I wasn’t interested in false colour or surreal tones. I wanted that stark, high-contrast black and white look — something clean, bold, and stripped back.
And that’s exactly what it delivers.
Starting Out: What You Need to Know
If you’re thinking about trying infrared photography, there are two main routes:
• Use an infrared filter on a standard camera
• Or commit to a converted camera
I went straight for a conversion, and I’d recommend it if you’re serious. Shooting handheld, working quickly, and reacting to moments — that matters to me, and long exposures just don’t fit that way of working.
It Changes How You See Light
This is the biggest shift. And the most important.
Photography is entirely dependent on light — we all know that. But if we’re honest, we also take it for granted. It’s like breathing. Always there, always working in the background.
Infrared photography forces you to pay attention again.
Suddenly, light isn’t just “good” or “bad”. It’s:
• Directional
• Intense
• Reflective in unpredictable ways
Midday sun — the kind of light most photographers avoid — becomes ideal. Harsh shadows aren’t a problem. They’re part of the image.
You stop chasing soft light and start studying how light behaves.
And I believe that shift alone has made me a better photographer across everything I shoot.
850nm: Embrace the Simplicity
If you’re working at 850nm, accept this early: You’re not really shooting colour.
Technically, the files will have colour information — usually deep reds — but in practice, you’ll end up in black and white. And that’s the strength of it.
No distractions. No colour grading decisions. Just:
• Contrast
• Shape
• Texture
• Light
You’ll Make Mistakes (A Lot of Them)
This isn’t a plug-and-play process.
Your first few shoots will probably feel off. Exposure can be tricky. Scenes that look great to your eye might fall flat in infrared. Lenses might behave differently.
That’s normal.
Infrared isn’t just a setting — it’s a different way of interpreting the world. And it takes time to get comfortable with it.
Post-Processing: Keep It Honest
One of the nice things about 850nm is how straightforward the edit can be.
Most of the time, my workflow is simple:
• Convert to black and white
• Adjust contrast
• Fine-tune highlights and shadows
That’s it.
Because the look is already there. You’re not trying to create something artificial — you’re revealing what the sensor captured.
Final Thoughts
Infrared photography isn’t for every shoot, and obviously it’s not something I use all the time. But it’s changed how I approach photography in a much bigger way than I expected.
It’s made me slow down. Look harder. Think more about light — not just as something that illuminates a scene, but as the subject itself.
And that’s probably the biggest takeaway I’d pass on to anyone thinking of trying it: Infrared doesn’t just give you a different image. It gives you a different way of seeing.
If you’re curious, give it a go. But don’t expect instant results. Treat it like starting again — because in many ways, it is.