Behind the Scenes with Red Dot

One of the photography services I offer is aimed specifically at artists and art galleries who need high-quality images that truly represent their work.
Whether the images are for websites, social media, printed publicity, or for creating high-quality digital files for selling prints, hiring a professional photographer is a sensible choice and a wise investment. After all, you want your artwork to be shown in the best possible light — and quite literally, bringing in a professional is the best way to achieve that.
I’m fortunate to have worked with, and to know, many talented artists and gallery owners over the years. That experience has given me a solid understanding of what’s needed — and expected — when it comes to presenting artwork professionally within the art world.
That’s why I recently launched a new photography service: Red Dot.
Tailored specifically for practising artists and galleries or exhibition spaces, Red Dot provides a comprehensive service that ensures artwork is photographed in a way that truly represents the original. Images are delivered in formats suitable for online use, printed publicity, and high-quality fine art printing.
But it’s all very well me saying this. What you probably really want to know is the practical side of things: what exactly do I offer, and what difference does it make compared to taking photos yourself with a cameraphone?
So here’s a quick rundown of how I work, using a recent shoot as an example. And if you stick around to the end, I’ll also share a few tips for those times when budget or time constraints mean you have no option but to use a cameraphone.
Photographing Lee Lewis’ Work
Lee Lewis is a talented artist I’ve known for many years. She recently got in touch as she needed updated profile photographs of herself, along with professional images of her paintings for two upcoming exhibitions — one at Swan Hill Studios in Shrewsbury, and another for her submission to the Royal Academy Summer Exhibition in London.
My approach to photographing Lee’s portrait followed the same process I use when working with musicians: essentially a session with the artist without the camera. This allows time to talk, get to know them, and develop a concept for the shoot based on who they are and how they want to be represented.
That’s a topic for another blog, though. Today I want to focus on photographing artwork — specifically paintings.
Photographing Artwork: The Red Dot Approach
I often describe Red Dot as being about photographing artwork in the best possible light — literally. Equipment plays a big role in that.
For me, this means using professional studio strobes that provide an even distribution of light across the artwork, without introducing unwanted colour casts.
These are daylight-balanced lights, which is essential for accurate colour reproduction.
A high-quality camera and lens are equally important. A good lens ensures accurate reproduction without optical distortion, while a camera body capable of capturing high-resolution images allows for greater detail and larger print sizes.
For my Red Dot work I typically use a digital medium format camera which captures the fine detail required in this field of work.
However, equipment is only half the story. Knowing how to use it properly is just as important. This includes understanding light placement, selecting optimal camera settings for the environment and subject, and positioning the camera correctly to avoid distortion in the final image.
Then there’s the editing process. Subtle adjustments to colour temperature, cropping, straightening, and other refinements are made to ensure the final image is a faithful representation of the original artwork.
The Shoot Setup
For Lee’s work — seven small acrylic paintings — we met in a local community hall, which gave us both the space and the time needed to work carefully.
Lee explained how the images would be used and outlined the technical requirements provided by the Royal Academy.
Based on this, I planned a shoot that produced two sets of images:
One set that met the RA’s specific submission requirements (including digital size and borders)
A second set of higher-resolution, borderless images that Lee could use for online sales or future publicity
The lighting setup was simple and effective: two lights positioned at 45 degrees on either side of the artwork, at equal height. The camera was mounted on a tripod, positioned centrally between the lights and directly in front of the painting — crucially, at the same height as the artwork itself.
Although Lee’s work contains some texture, depth of field wasn’t a major concern in this case. Using a tripod also eliminated the risk of camera shake.
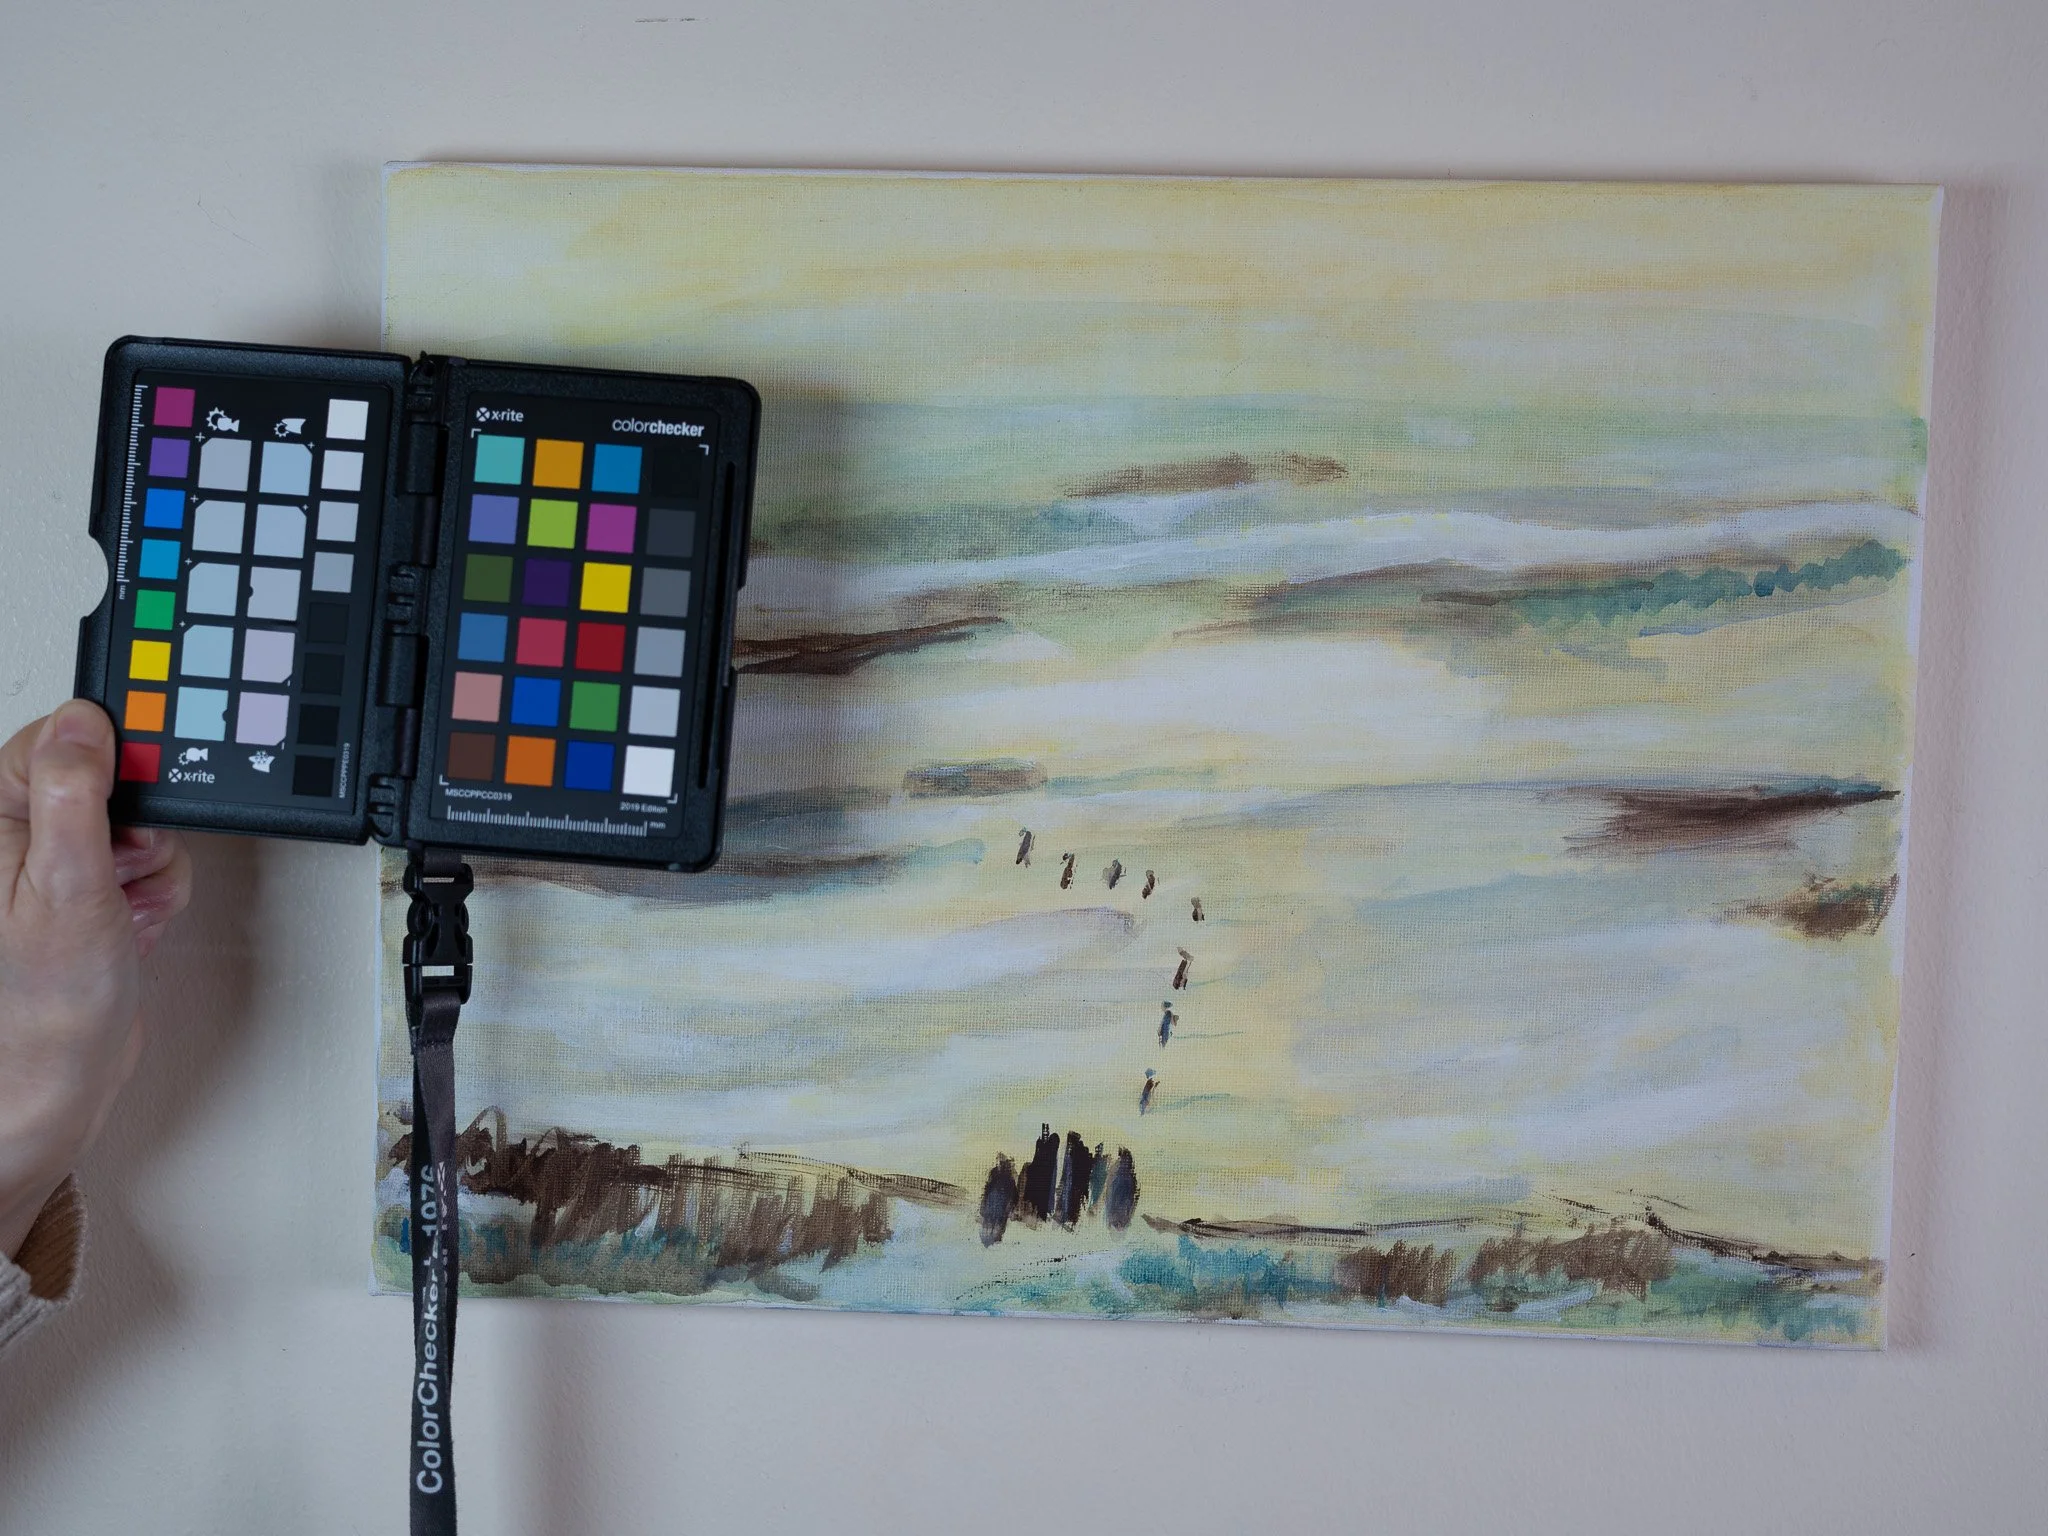
Colour Checking is part of the Red Dot process
After taking light and colour temperature readings, I dialled in the optimal camera settings and fired a few test shots. Once everything was spot on, it was simply a case of photographing each painting in turn.
The editing process then refined what had already been captured accurately in camera.
Why Professional Artwork Photography Matters
By using a service like Red Dot, artists and gallery owners can be confident that their work is being represented properly and professionally. Photography will never replace the experience of seeing an original artwork in person — but when done well, it’s the next best thing.
Cameraphone Tips for Photographing Paintings
If you’re on a budget or working to tight deadlines
If you have no choice but to use a cameraphone, these tips will help you get the best possible results:
Clean your lens
It sounds obvious, but phone lenses get dirty quickly. A quick wipe with a clean cloth can make a noticeable difference in sharpness and contrast.
Use good natural light
Photograph near a window on a bright but overcast day if possible. Avoid direct sunlight, which creates harsh shadows and glare. Never use your phone’s flash.
Keep the artwork square to the camera
Make sure the painting is perfectly parallel to the phone. If the camera is even slightly angled, you’ll introduce distortion that’s hard to fix later.
Hold the phone steady (or use a tripod)
Even small movements can reduce sharpness. If you don’t have a tripod, rest your elbows against your body or lean against a wall.
Avoid mixed lighting
Don’t combine daylight with indoor lighting — it can cause colour casts that are difficult to correct.
Use the highest resolution available
Check your camera settings and ensure you’re shooting at maximum quality.
Edit lightly
Use editing tools sparingly. Focus on straightening, cropping, and slight exposure corrections. Avoid heavy filters — they will distort the colours of the artwork.
If you’d like to talk about professional artwork photography, or whether Red Dot is right for your work or exhibition, feel free to get in touch - James.warman@sky.com.
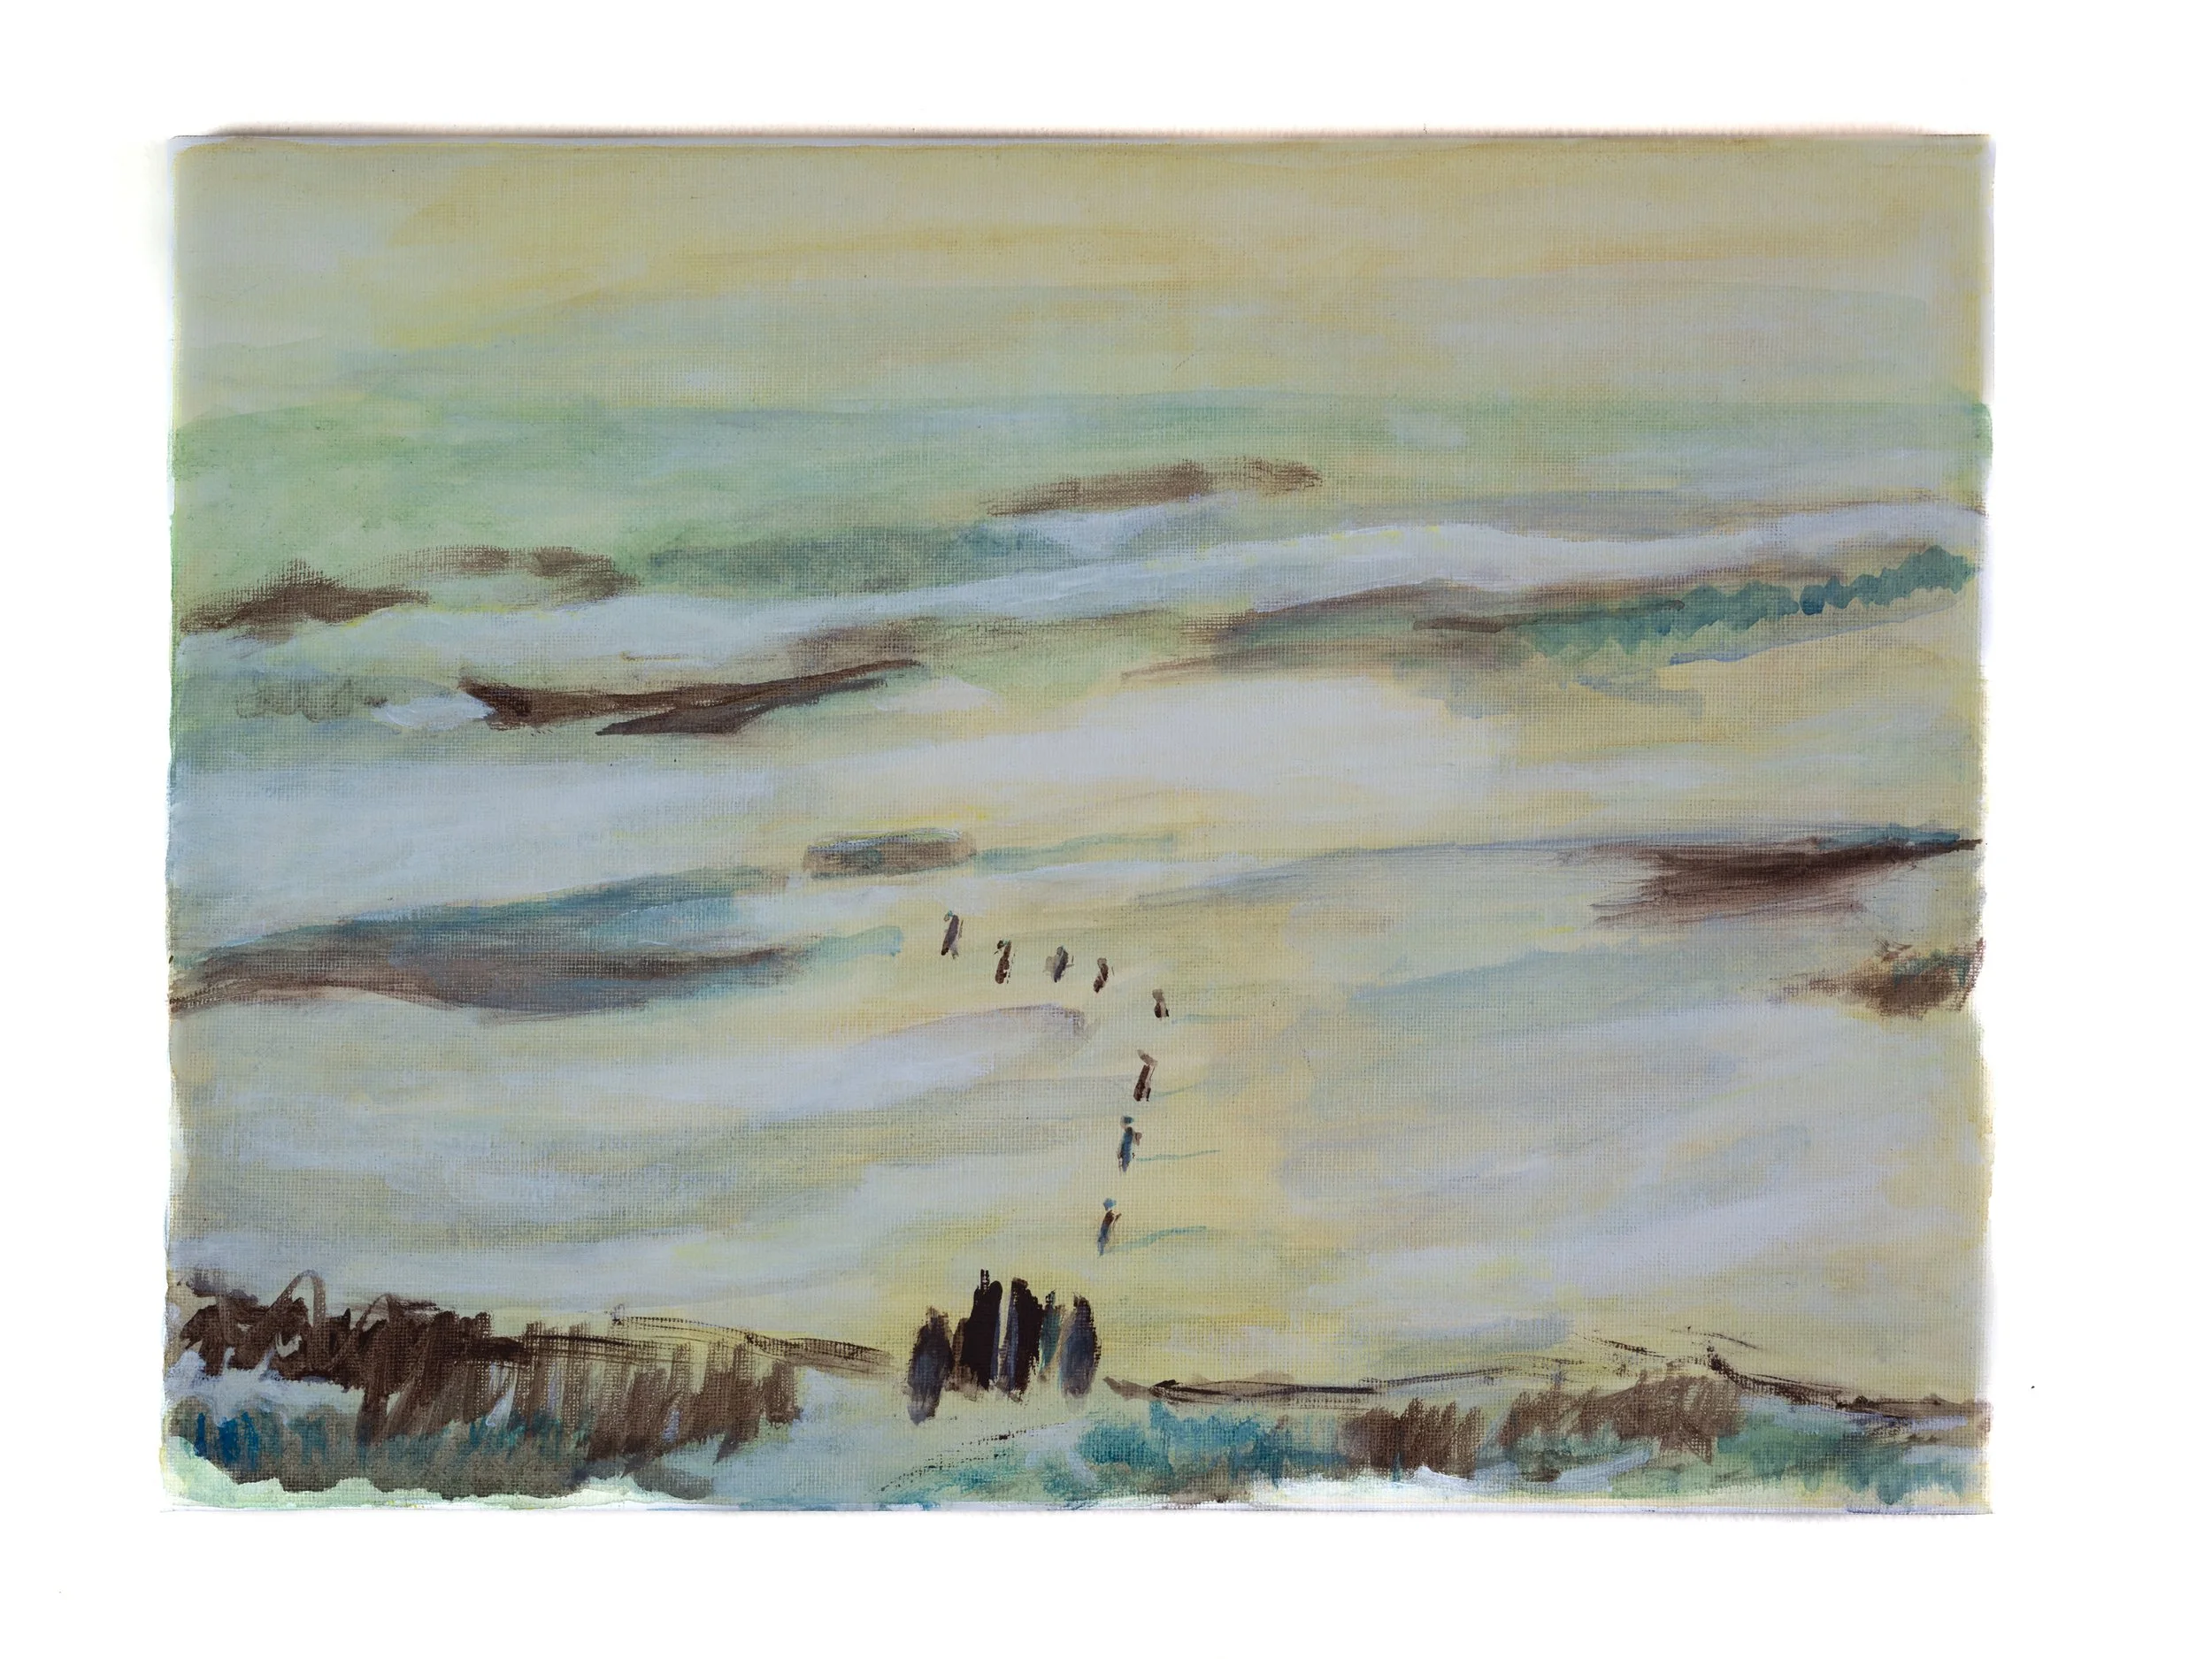
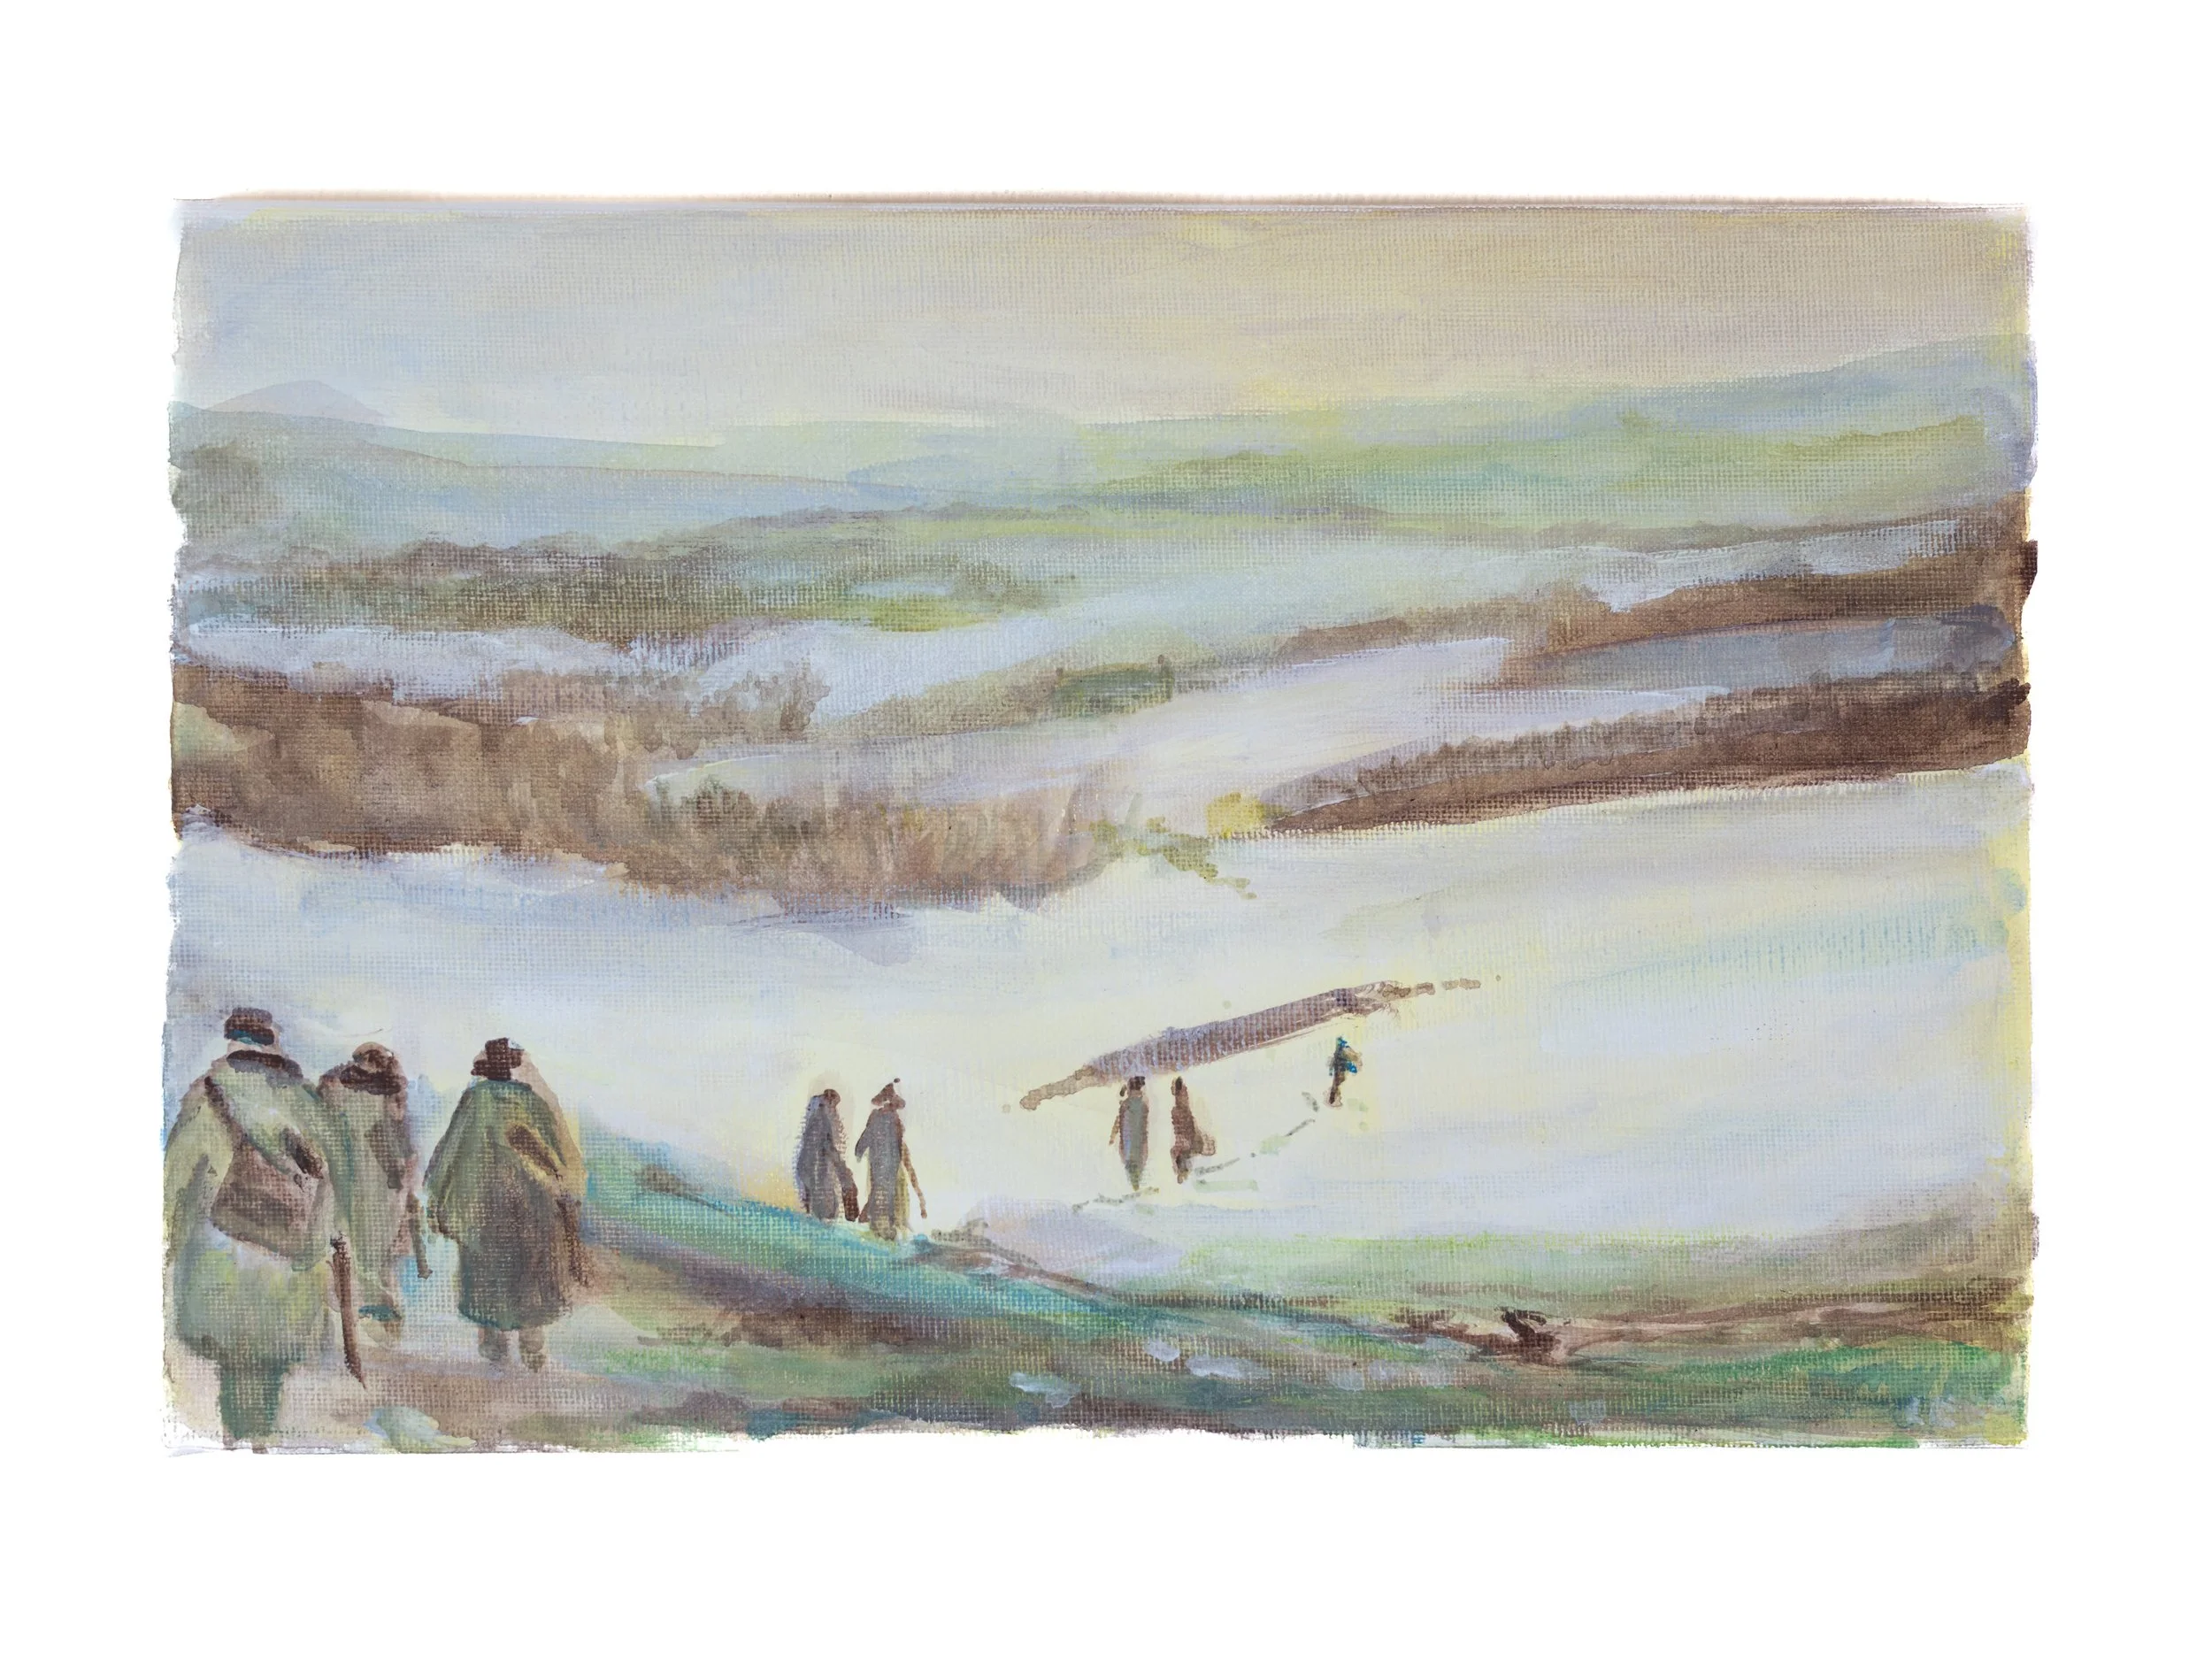
A selection of work by Lee Lewis: